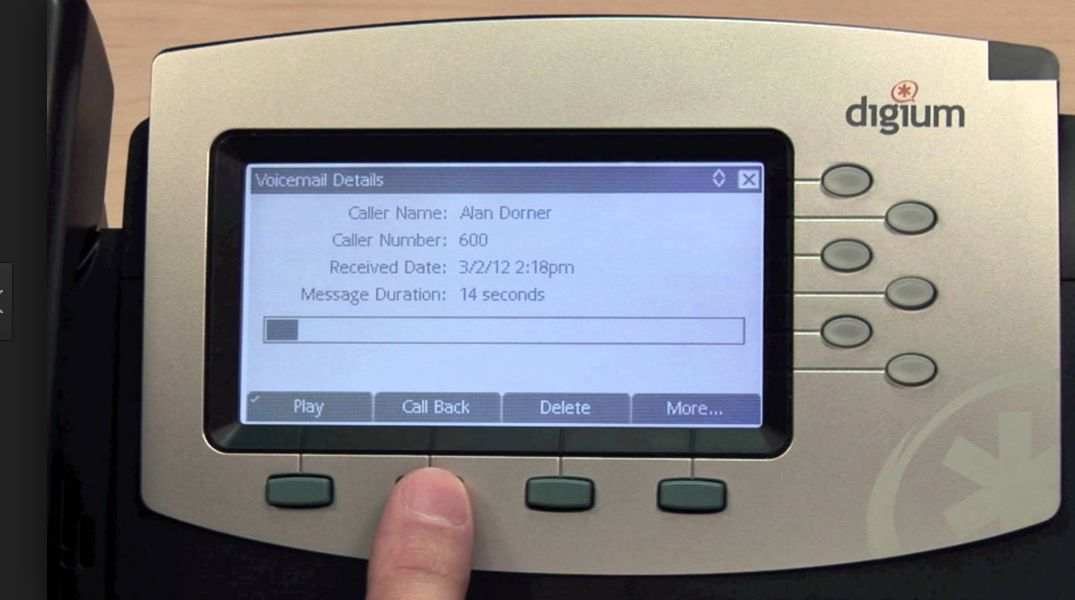
How to login to Switchvox Voicemail

The following settings do not apply to Switchvox's visual voicemail but rather dialing in remotely (or locally via the default VM extension "899"). To dial in remotely simply dial your telephone number and navigate to your extension. (Either call your DID or the main number and enter your extension or be transferred to your extension.) Once you hear your voicemail greeting hit the star key (*) to interrupt the greeting. (**Note that this must be enabled by a Switchvox administrator.*) The system will then prompt you to enter your password. Many systems are configured with a default password (ask your administrator what yours is, many admins use the extension number as a default.) Many systems are configured to prompt the user for a new password the first time they log in. Follow the instructions to change the password.
Once you are in the first thing to setup is to record your mailbox greeting. When prompted, then press “0” for advanced options, and then press “1” to record your Unavailable Message. Once you have recorded your message callers will hear your voice and leave a message.
Here are all of the other options that the voicemail system offers:
Main Menu
1 - New Messages
2 - Change Folders (i.e. old messages, saved messages)
3 - Advanced Options (operates on current message):
1 Reply to Voicemail (only available when leaving or receiving messages on internal extensions)
3 Hear Message Envelope (date/time, caller id of message)
- Return to the Main Menu
0 - Mailbox Options:
1 Record Unavailable Message
2 Record Busy Message
3 Record Your Name - Return to the Main Menu
The following options are only available when actually listening to your messages:
4 - Previous Message
5 - Repeat the Current Message
6 - Next Message
7 - Delete/Undelete the Current Message
8 - Forward Message to another User
9 - Save to another Folder
Press * at any Time for Help Press # to Exit
